Pages

Friday 30 November 2012

Combatant Modeling Stage complete


It is complete!.. unless someone on polycount points out something terribly wrong. Either way I'm ready to texture! been so long!

Thursday 22 November 2012

The Combatant Progress

He's nearly complete. Still a few more details I'd like to add to the shin guards, like damage and strap details.

Friday 16 November 2012

I painted this in Photoshop as a guide for an acrylic painting that I gave to Natalie for her birthday. I'll post the actual painting as soon as I gain access to either a big scanner or nice camera. Until then here she is, The Prisoner.

Tuesday 9 October 2012

Paldron Update

The First piece of armour is 95 percent in there. I'd still like to add some torn cloth and etch in the designs that were in the concept. Also, I made new hand wraps that match the wrapping at the shoulder because I thought they should be consistent and I liked the new rougher looking ones better. AND I took the detailing of the face a little further as that was a pretty consistent critique.

Monday 24 September 2012

The Base Warrior


So here is the sculpt for the no armour, bare fighter. I could go on from here to create the game mesh and begin rigging but I think I'd like to make just the few basic armour pieces that were concepted. I also might go on to sculpt in finer details such as veins and finger nails if I can keep them consistent stylistically.

Thursday 13 September 2012

Here's where I'm at with Darkwolf. About to add the clothing finally. This way I"ll only spend time polishing the anatomy that is visible.
Painting Update haven't worked on this for a while but I wanted to add the most recent image.

Sunday 8 July 2012

Project Vengeance Model

I have started modeling the base character for my game project tentatively entitled Vengeance. The title is a bit of a throw back to one of my favorite fighitng systems from the N64 era. But I'll elaborate as I complete more of the project. For now, the purpose is to create a character that will be the basis for customizing through added armor and possibly color schemes. I'd like to do a few more body types but thats's a long way down the road. The goal right now is just to get to a playable state so I'm really only going to make enough art to get there. Here's the first days work.

Wednesday 23 May 2012

Creating a Free Standing Maquette pt 2


It's finally time to start adding Sculpey!!

Stay loose as they say and try to avoid doing anything more that the very roughest anatomy as you build volume. At this point we're critiquing our wire skeleton and looking for anything that looks poorly proportioned or problematic, because it's really hard to tell if everything is perfect while you're constructing the armature.

Clumpy Man's right arm is a little long for my tastes.


On this particular sculpt I found that the right arm was just too long, the armature should rest in the middle of the mass and not touch the edge anywhere. Here, the wire is at the very bottom of his right elbow making his bicep a little too long on that side. When this happens you can happily strip the clay away and repose/trim the wire without having to ruin any details you've become attached to.

Once you are happy with the proportions you can confidently move on to actual sculpting and rest assured that you will not be fighting with your armature.

Boom.

 Happy sculpting. Keep checking back for updates!

Creating a Free Standing Maquette pt 1

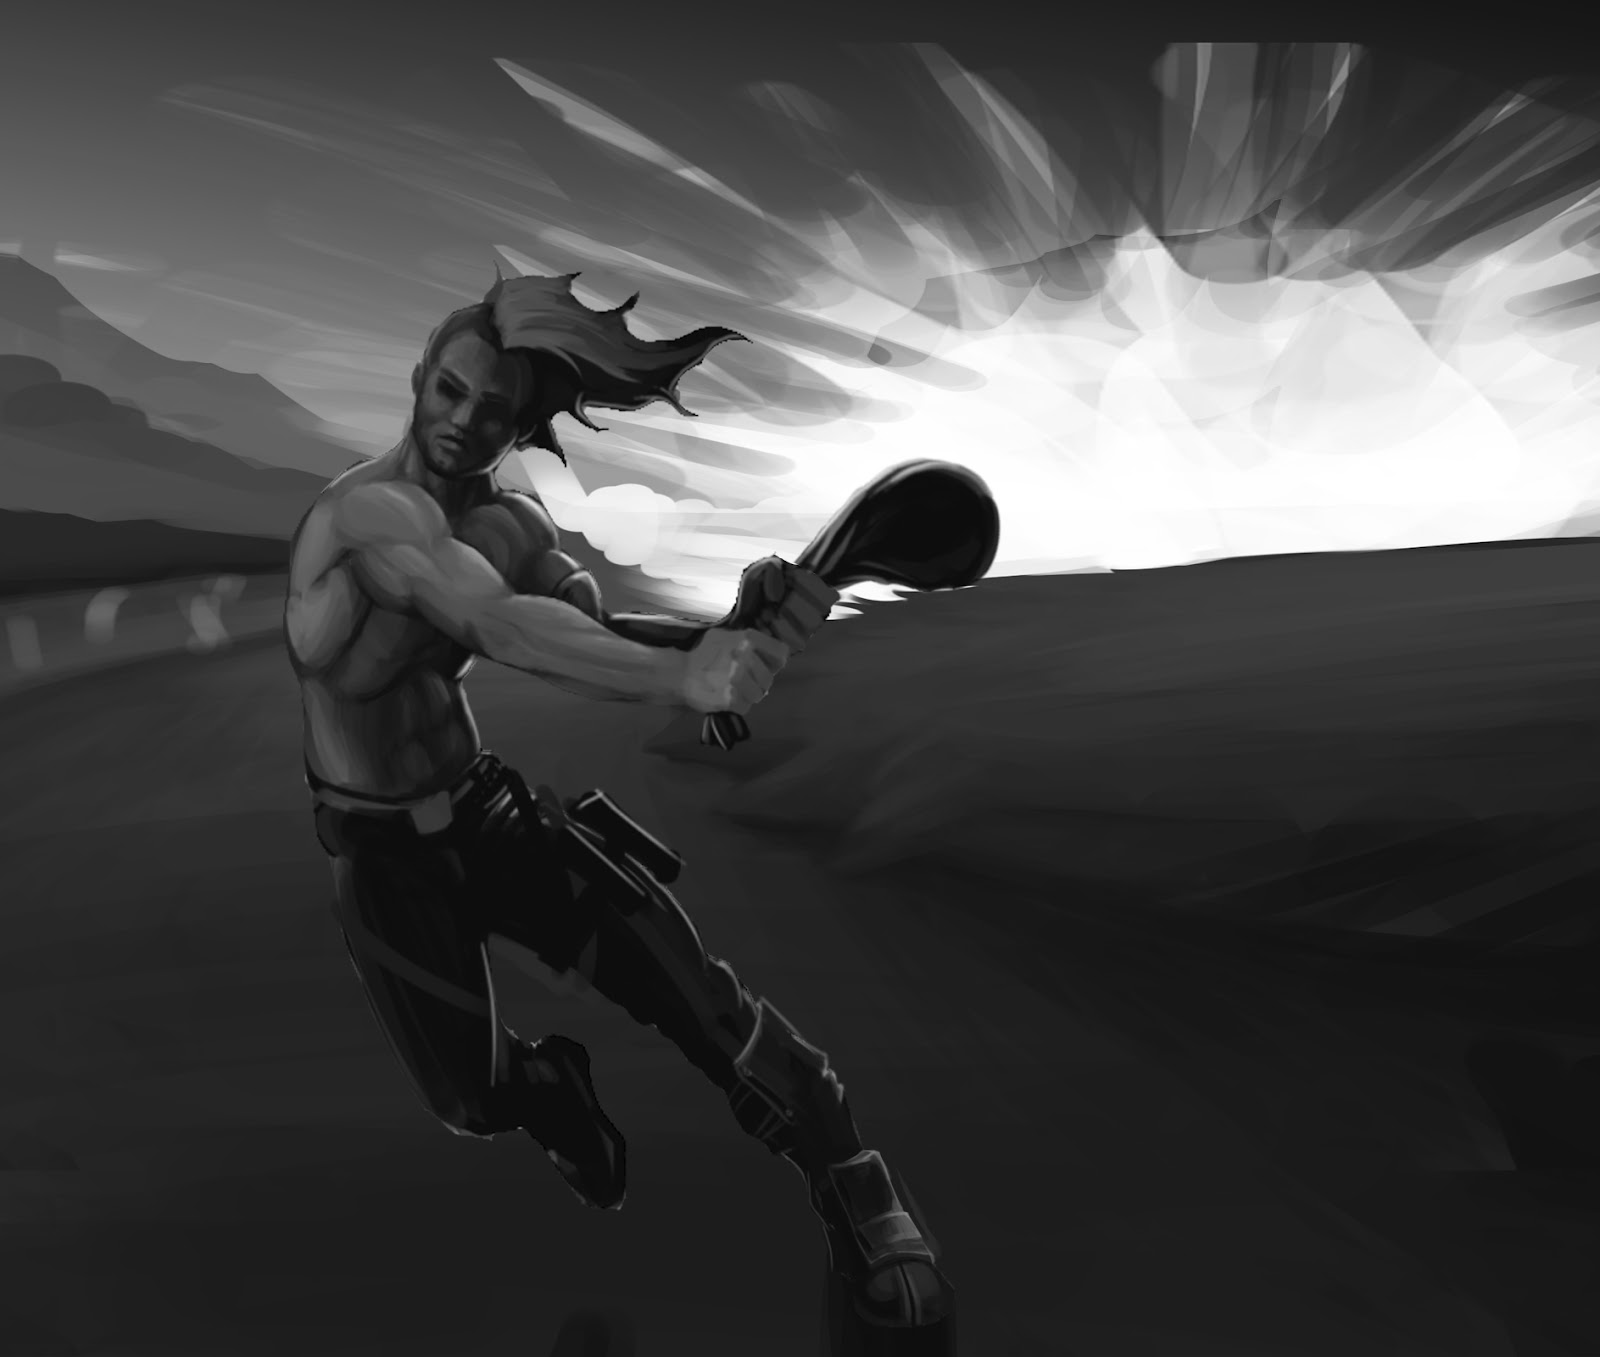
I told someone on the Sins of a Dark Age forum that I'd post sort of a how to the next time I made a maquette. So here it is.

First things first, if your character is going to be free standing, you'll need some kind of a base. I usually use a small cutting board from the dollar store, they are made of thick solid wood and always have a nice finish. Not to mention they are pretty cheap. I'm using a sanded cut of wood provided by my fiancee (Natalie Brash, check the blog to the right!) whose father just happens to be a cabinet maker ;)

Secondly you need an armature like the one in this screenshot. I'm using like, 2mm steel wire or something. About the width of a traditional pencil lead. You'll notice that I've coiled the wire. This makes it sturdy and can still be easily manipulated with pliers. To coil the wire simply bend a length of wire in half, about 8 or 10 feet worth. Then, have a friend hold the open end with a pair of pliers. Insert the bent end into a handheld drill and twist away until it looks kind of like this.


WireSkeleton


Before I screw anything in I'll pose the skeleton by hand getting it to look as close as possible before moving on. To do this I start the foot with the looped end of the wire and bend out a leg from there. The scale of the leg will dictate the size of your whole model so try to imagine how many inches you're prepared to sculpt at this moment. I'd recommend less than 9 inches so you can easily bake your maqueete in your home oven. keep the bend at the top about halfway up the face, leave yourself some breathing room. Twist the wire down the spine making it double thick and bend out the other leg and clip off the rest of the wire. you should be at a point where you have two legs and a spine like a two prong pitch fork. At this time I would screw the feet into the wood with the smallest possible screws.
                

Pre-arms, time to screw this guy down.


Cut another length off your coiled wire for the arms, remember the wingspan is about the height of the character. cut off a little more than you need you can always trim them a bit if the arms are too long. Do a preliminary pose of the arms then, attach them using some of that smelly, quick drying plumbers putty stuff. Or like that crazy putty stuff that the oxi clean guy is always raving about.

The last thing I do before actually adding the sculpey is applying a few chunkels of that putty stuff around the skeleton. Keep it crude but not too thick. and leave empty segments so you can still bend the skeleton to tweak your pose. This prevents the sculpey from wabbling around the smooth wire. Which is maddening!


Chunk it up!


Saturday 28 April 2012

Update on the Gladiator. Now with boots! May change them in the modeling process tho.

Sunday 25 March 2012

Axe is All done

Well it's out of my hands now. I feel like the presentation came together well. We'll see what everyone else thinks.

Friday 23 March 2012

AxeTextured!

It was a late one but I pretty much have it done, Might go back and run a sharpen or somethign but I'm not going to bother cleaning up the brush strokes.

Tuesday 20 March 2012

AxeUpDate

Here are the results of the Retopo and Baking process. 1491 Tri's total!

Monday 19 March 2012

DS2 Axe coloring

After a lot of trial and error I've settled on heading in this direction for the color of the Axe.

Sunday 18 March 2012

DS2 Weapon Update

Sculpt is complete, Hopefully I can retain all of the silhouette detail in the low poly.

Monday 12 March 2012

DarkSiders 2 Weapon contest

My first update on my entry into the Polycount, DS2 weapon design contest.

Monday 20 February 2012

Combatant Style Sheet

The Combatant

My progress on this stylistic gladiator. Some cool boots are next on my list of to do's. I'm treating this as a base character over which I'll design armor in accordance to the style sheet. This set is basic leather armor.

The Moons Rapture Sculpt

Sculpting from painting.
Studying the work of Frank Frazetta.
Software:
    Zbrush (sculpting),
    Photoshop (compositing).